

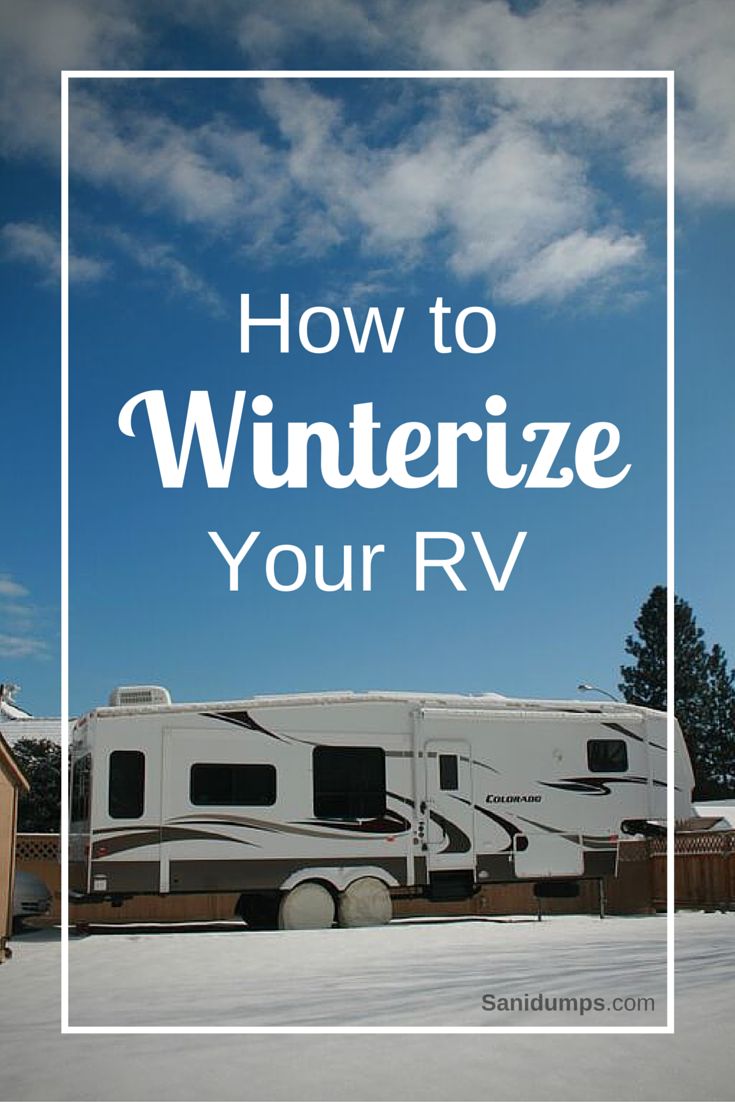
When colder temperatures arrive in your area you don't want to get caught in the cold.
Your RV water pipes may burst because the water inside them expands is it gets close to freezing, and this causes an increase in pressure inside the pipe. When the pressure gets too high for the pipe to contain, it ruptures.
These instructions will help you with how to winterize your RV water system for winter or long periods of storage.
Even if you are in an area where the water pipes will not freeze it is not a good idea to leave water in your RV pipes for a long period of time.
First lets open the fresh water tank valve and let all the water to drain from the fresh water holding tank.
While the water is draining from the fresh water tank, if possible, bypass your hot water heater. You may have either a one valve, two valve, or three valve bypass system on your RV. Check with your owners manual for the steps. This will save you gallons / litres of RV antifreeze.
Make sure your water pump is turned off. Open a sink tap to relive the water pressure for the hot and cold water lines.
Open the hot water tank drain plug and drain the hot water tank.
You RV should have a low point drain for the water lines, open these to drain the water lines. I have seen on RVs the following configurations:
Open all cold and hot water faucets in the RV, this includes those for the sinks, shower, toilet, fridge (ice maker), laundry machine, outside shower, etc. This will let air flow in and the water out the low point drain. Flush your toilets a few times to make sure all the water's gone.
Attach a compressed air adapter to the RV's water lines. This is commonly known as a "blowout plug". It can be purchased at most hardware or RV stores. It's attached to the "water intake fitting / city water connection".
Use a standard air compressor to blow air through the water lines. The air from the compressor will force any remaining water out of the lines. This isn't 100% necessary, but it helps to keep your antifreeze from becoming diluted. Diluted antifreeze will not protect your RV lines from freezing damage. Pressure should be 10 pounds per square inch (maximum of 15 psi). I have seen higher air pressure damage shower heads etc,
Detach the compressed air adapter from the RV, and the compressor along with it.
Replace caps on all the drains, and close all the cold and hot water faucets. Close your fresh water tank valve.
Drain the black and gray holding tanks. You should also flush all holding tanks at this time too.
There are many brands of RV antifreeze:

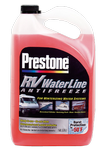


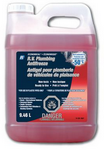


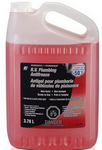
Choose your method of adding antifreeze. There are many ways to do this:
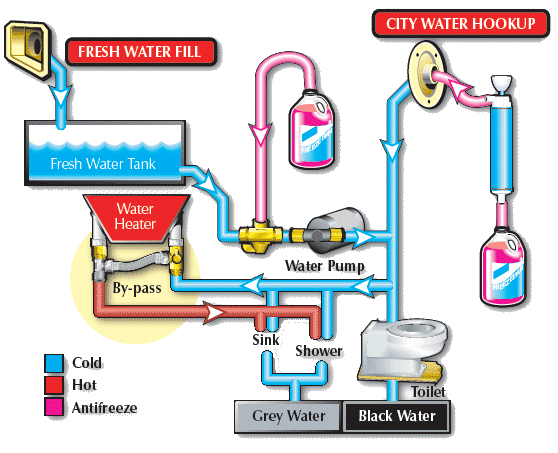
Place the end of the water line from the water pump conversion kit in a jug of RV antifreeze. That's the pink kind, not the green kind. The pink kind is RV antifreeze, the green kind is toxic! Approximately two to three gallons (8 to 12 liters) of antifreeze should be enough to fill the RV's entire plumbing system, provided a bypass is installed. If you don't have one, you need as much antifreeze as the water heater can hold, usually six to ten gallons more!
Turn on the fresh water pump, and allow it to run as it pulls the antifreeze into the plumbing system of the RV. Alternatively, as discussed, use a hand pump connected to the city water hookup.
Start from one end of the RV and work to the other end of the fresh water system. You'll probably start at the kitchen sink, turn on the hot faucet and run it until it turns solid pink, now filled with antifreeze. All the water has been flushed from the system. Then, run the cold faucet until it's pink.
The general order is to work from one end of the RV to the other end. Run each outlet until you see a strong shade of pink in each. You may need to flush the toilet several times until the RV antifreeze comes out at a steady rate.
Pour about three cups (3/4 liters) of antifreeze into the toilet and in each drain. This includes the washing machine, ice maker. The specifics of your RV will need to be taken into account here. Refer to your manual for more specific guidelines.
Take the water line out of the antifreeze jug, and reconnect it to the fresh water tank if you had to disconnect the water line.
Wipe the bath tub /sinks to avoid pink stains from certain brands of RV antifreeze.
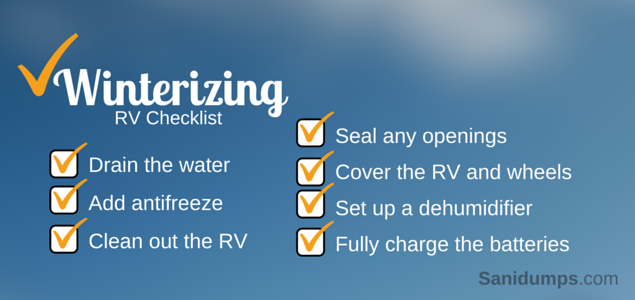
Remove all food, laundry, and valuable items. The last thing you want is mice and ants.
Fix anything that's broken, so it will be ready for your next trip.
Cover all vents and holes. Hopefully you already have some type of mesh guard for your exhaust pipe and whatnot to protect against mice, but make sure all the vents and holes are covered now. You don't want birds (think of the roof), rodents (pipes), or bugs (seams) making your RV home. Check the entire RV for places that bugs or animals may be able to get into. Just because you're not using it doesn't mean they should get to!
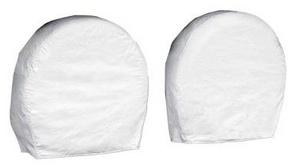
RV wheel covers protect tires and wheels against sun damage (UV).
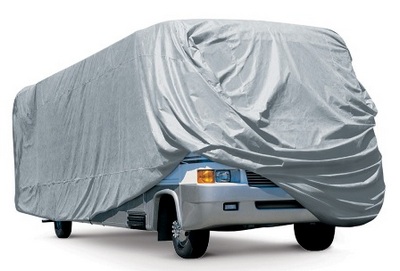
If you cover the RV use a breathable material. While you don't want snow and rodents getting into your RV, you also don't want mold and mildew to start growing underneath your tarp. So if you do cover it, cover it with a material that breathes.
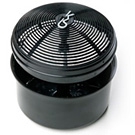
Leave one vent slightly open or install dehumidifier crystals. I do both, the bathroom vent is open about 1/2 inch and I place two dehumidifiers with crystals, one in the bedroom area and the other at the other end of the RV.
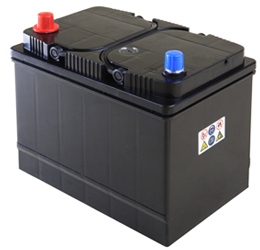
Fully charged your batteries. Do not store below 2.10 volt/cell. Charging regularly or keeping a trickle charger is the best solution. I use solar panels to maintain the batteries.
In the spring remember to sanitize your water system before you use the RV again.
Happy RVing,
The Sanidumps.com Team
The type of recreational vehicle dump stations you will find on Sanidumps.com include: private, public, RV park, non-park, municipal, truck stop, rest stop, campground, camping, resort, commercial, pay, donation, waste disposal, and free.
It is important to dispose of human waste properly when RVing. The RV dump station, dump point, or sanidump station you choose to empty your gray and black water holding tanks is up to you; we're hoping that you will choose an approved dump station site that's green and environmentally friendly, using an environmentally sound method.
Do you need to know where to dump your holding tanks when your RV is on the road? Now you can know where the RV dump Stations are while traveling with a e-book. More information about the RV Dump Station location e-book.
Although efforts are made to make sure of the accuracy of the information presented, Sanidumps.com shall have neither liability nor responsibility to any person or entity with respect to any loss or damage caused, or alleged to be caused, directly or indirectly by the information contained here.
Sanidumps.com is not affiliated in any way with any place/location listed on this site. Fees are subject to change; availability and prices can and do change.
We thank all the RVers that have contributed information :-)
The Sanidumps.com Team
Serving the RV community for over 18 years
Sanidumps.com - When RVs have to go...™
© 2006 - 2024 Sanidumps.com - All rights reserved.
The content contained on this website may be used for personal reference only and may not be reproduced in any form without prior written consent permission from Sanidumps.com
Australia, Canada, Mexico, New Zealand, United States & more...