

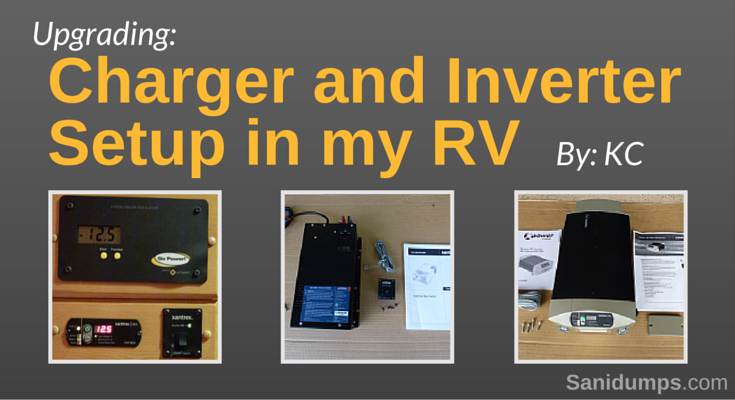
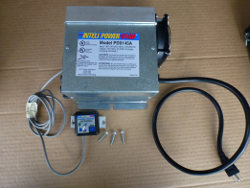
My 2007 5th Wheel came with a 400 watt modified wave inverter (not shown) and a Progressive Dynamics 9145A 45 amp multi-stage charger with wizard. This inverter is an upgrade over most fixed rate chargers that deliver a constant 13.6 volt charge. The inverter was directly wired to my audio/visual 120AC plug in the entertainment center.
In 2008, I had to upgrade the 400 watt modified wave inverter to a Xantrex RS400 true sine inverter to eliminate a hum on the audio and TV from the modified sine inverter. This worked extremely well.
Since we dry camp or boondock 80-90% of the time, we are required to run other AC devices such as the microwave, laptops and exhaust fan/light over the stove. To manage this I had installed a Xantrex XM1800Pro modified sine wave inverter to run all the other AC devices except for water heater and air conditioner.
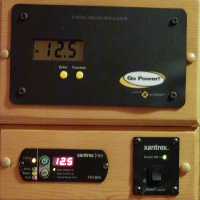
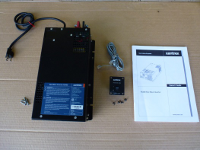
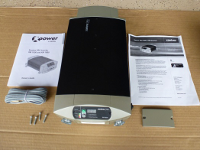
This was a cost versus benefit driven decision. There were several benefits such as:
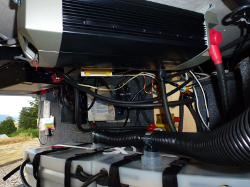
The install was fairly easy and the manuals were very good. Locating all the units was a little challenge due to space and proximity to the batteries.
In conjunction, I also acquired an ultra-quiet Honda 2000i 2000 watt generator/inverter to charge my batteries. This setup had the following drawbacks:
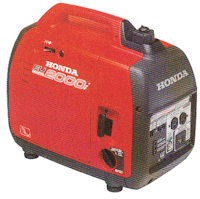
Since we RV anywhere from 11 to 18 weeks a year, taking multiple trips, this became an issue we needed to resolve.
After researching several inverters, chargers and combo units with a variety of specs, we decided that an ideal solution should meet the following requirements:

In 2010, we met with Sean from the Go Power!TM team at a trade show. I mentioned our dilemma, and he suggested we look into a Magnum charger/inverter/transfer switch controller with an intelligent remote as a solution. We selected the Magnum MS2812, ME-RC50 remote and BMK battery management system with a 125 amp multi-stage charger, 2800 watt true sine inverter and a built-in transfer switch. The price premium over the 2000 watt MS2012 was very little compared to additional capacity for charging and the inverter wattage. The main reason, we went with this unit, even though it was a little overkill were following:
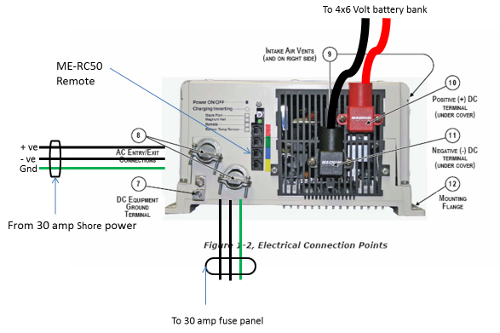
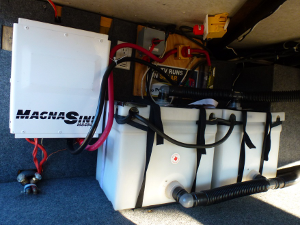
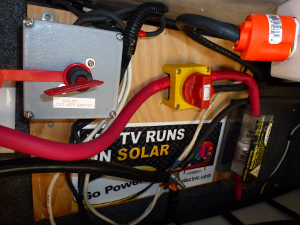
The manual and additional advice from the Go Power!TM team made the installation a breeze once I figured out how to bend the #3/0 (over 1" thick) DC cables. I wired my shore power directly into the Magnum and then connected to my 30 amp fuse panel which meant I did not have to install an AC sub panel. All in all the wiring became much simpler. If you are a DIY person, make sure you include a DC slow blow fuse (200 amp) and a cut-off switch to cut all loads as well as appropriately sized DC wiring. Also, I would recommend you get it checked out by a professional as these are big currents and could create fires and personal injuries. The Magnum manual is by far the best manual I have ever come across in the RV world. It covers just about all eventualities and configurations of batteries and RV wiring.
The remote panel is full of useful information about the health of your power system, the battery bank and power consumption with charging rates from solar as well as shore power. The setup accounts for most battery types and AC inputs from 15-50 amps. There are many parameters that you can set for your particular need or just use the default set up that works for most RVers. My wife likes the simplicity of the remote (easy to turn it on or off and lets you know the status of the battery bank) since it allows her to use the system with little confusion.
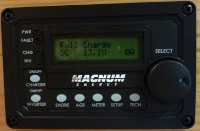
The install was a breeze, and it took about 2 hours of planning to lay out the physical space and to calculate the wiring lengths and routing and an additional four hours doing the actual wiring. The confined space (sitting in the basement to wire and bend the #3/0 cables) was the biggest challenge. The manual outlines the setup and testing of the unit in nice easy steps. You can customize the setup as much or as little as you want. I would highly recommend you spend the extra dollars for the ME-RC50 remote as it makes setup and usage much more user-friendly. The combination of 225 watt solar, 4 x 6 volt battery bank, Magnum MS2812 and ME-RC50 remote is a perfect setup for us and our lifestyle when we go RVing.
Remember, you can transfer all this equipment to your next RV if you do decide to upgrade. All you have to do is keep the factory supplied charger and leave the solar panel clamps mounted on the roof (so that you don't break the seal on the rubber roof; the clamps are easy to replace). Given the robustness of these products and the long warranties, this is one investment that will enhance your RVing experience for a long time.
Now I have to find good homes for my Xantrex Inverters.
Go Power!™ by Carmanah Technologies
250 Bay Street,
Victoria, British Columbia,
Canada, V9A 3K5
Toll-free: 1.866.247.6527
Fax: 1.866.607.6527
Email sales: sales@gpelectric.com
Website: gpelectric.com

National Day Calendar
✔ Mark your calendar,
June 7 is
National RV Day,
Let's go RVing!
The type of recreational vehicle dump stations you will find on Sanidumps.com include: private, public, RV park, non-park, municipal, truck stop, rest stop, campground, camping, resort, commercial, pay, donation, waste disposal, and free.
It is important to dispose of human waste properly when RVing. The RV dump station, dump point, or sanidump station you choose to empty your gray and black water holding tanks is up to you; we're hoping that you will choose an approved dump station site that's green and environmentally friendly, using an environmentally sound method.
Do you need to know where to dump your holding tanks when your RV is on the road? Now you can know where the RV dump Stations are while traveling with a e-book. More information about the RV Dump Station location e-book.
Although efforts are made to make sure of the accuracy of the information presented, Sanidumps.com shall have neither liability nor responsibility to any person or entity with respect to any loss or damage caused, or alleged to be caused, directly or indirectly by the information contained here.
Sanidumps.com is not affiliated in any way with any place/location listed on this site. Fees are subject to change; availability and prices can and do change.
We thank all the RVers that have contributed information :-)
The Sanidumps.com Team
Serving the RV community for over 18 years
Sanidumps.com - When RVs have to go...™
© 2006 - 2024 Sanidumps.com - All rights reserved.
The content contained on this website may be used for personal reference only and may not be reproduced in any form without prior written consent permission from Sanidumps.com
Australia, Canada, Mexico, New Zealand, United States & more...